Apply Your Eyeshadow Like A Pro With These 10 Easy Tips & Tricks
Applying eyeshadow can be a challenge. We’ve all been there. When I look back at all my years improving my technique, I’ve always thought what a shame that no one introduced these techniques to me earlier.
Imagine if I would’ve read a blog post with all eyeshadow tips and tricks when I started out? It would’ve saved me from lots of bad eyeshadow days, as well as lots of time!
Well, that’s exactly what this blog post is, it’s your eyeshadow cheat sheet to get to the top without wasting years on it. Learn how to apply your eyeshadow like a pro with these easy tips and tricks!
1. Use an eye primer
Hate extra steps in your makeup routine? I don’t blame you, but this might be one worth investing the extra effort in. That’s if your eyeshadow struggles to stay intact over the course of the day, especially if you have oily eyelids.
An eye primer makes a barrier between your skin and the makeup giving the makeup something to hold on to. Think of it as glue for makeup. And that’s really what it does.
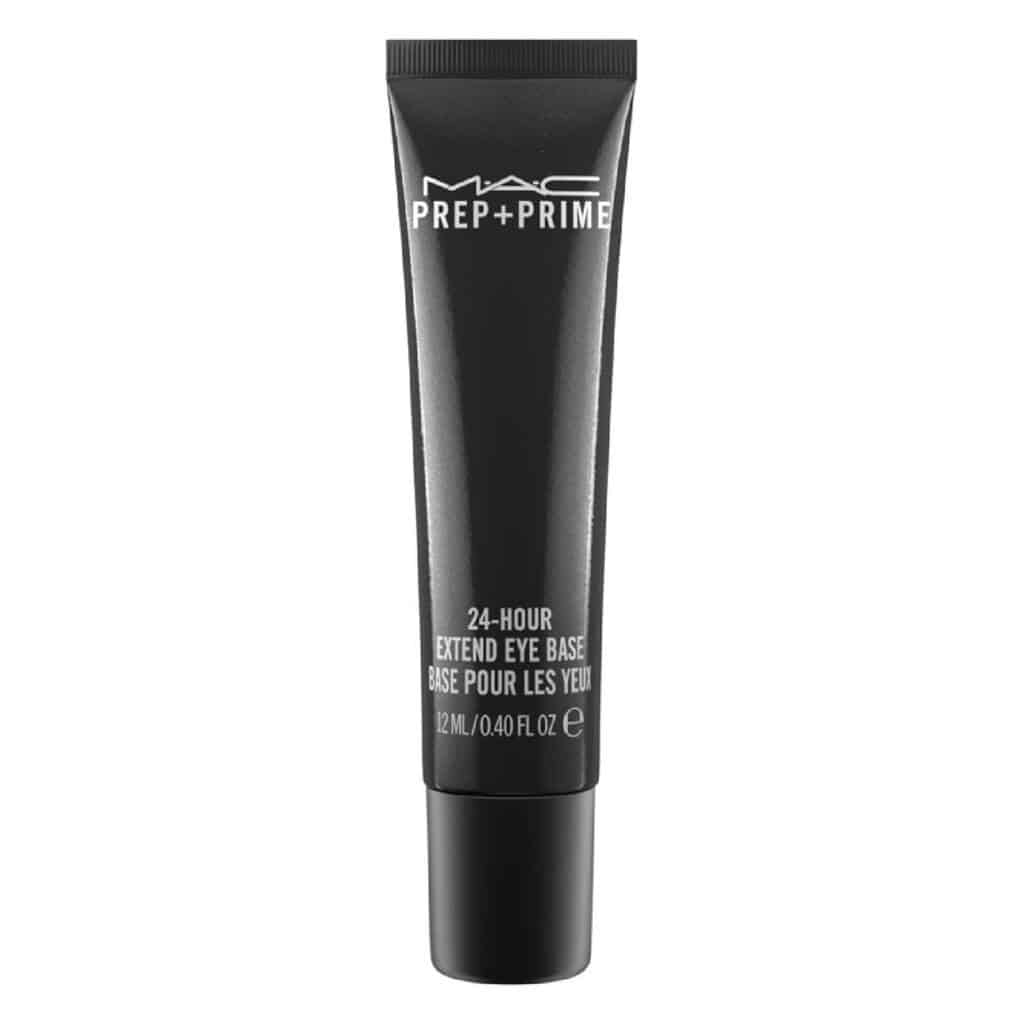
It keeps your eye makeup perfectly in place the whole day. My favourite eye primer is the MAC Prep & Prime, you only need a tiny amount for it to do the job. And trust me it does the job!
Get your confidence back with an eye primer- you will no longer need to worry if your makeup has creased!
2. Use the correct brushes
What you use to apply your makeup, will affect…your makeup! Yup, using the wrong brush simply won’t do the job intended.
It’s like using wavy scissors when you’re trying to cut a straight line. So, make sure you’re always using the correct brush and make sure to look after your brushes!
Keep them clean and hygienic. Check out my guide on makeup brushes here.
3. Spray your brush for an intense look
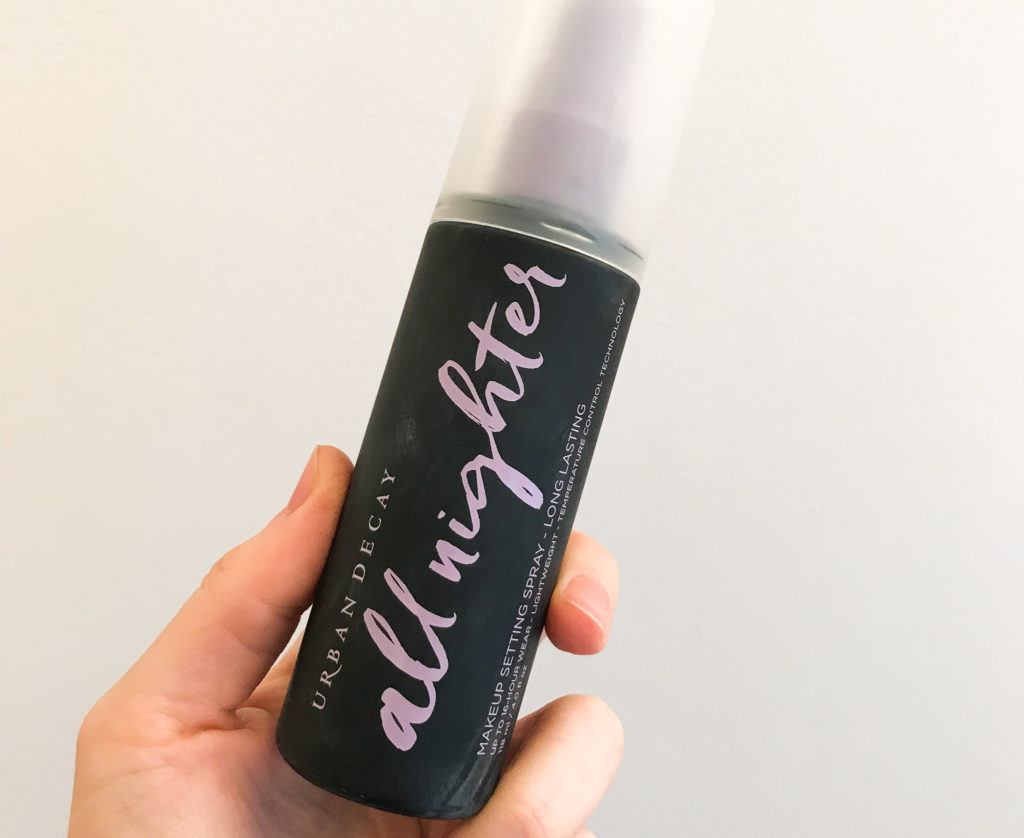
If you are after intense pigmentation, simply use your setting spray to spray the brush before applying eyeshadow to it. The results are amazing, and it also helps the eyeshadow stay on longer and better.
4. Apply eyeshadow before the base
One of the biggest annoyances with eyeshadow is that there is often fallout. It’s completely normal and to be expected, that is unless you use a cream eyeshadow.
An easy way to get around this problem with powder eyeshadow is to start your makeup with your eyes.
That way, you have no chance of ruining your base makeup because fixing it is time-consuming and, to be honest, a waste of time! Save your base for when you’re finished with your eyes.
5. Don’t rub your eyeshadow when applying
One of the most common mistakes with eyeshadow application is rubbing it on with the brush.
Rubbing really doesn’t achieve anything aside from giving you uneven eyeshadow and possible irritation.
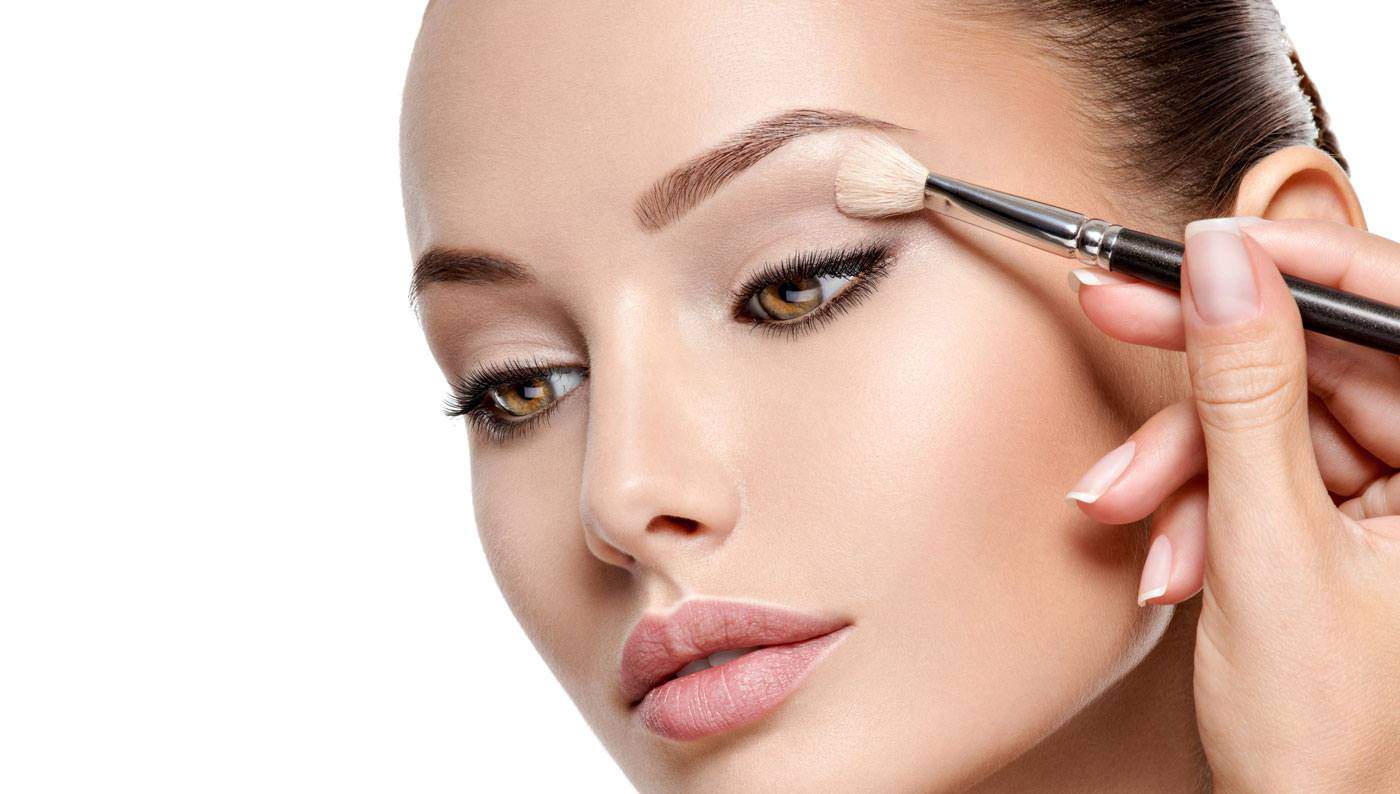
To apply eyeshadow correctly, you need to dab the brush onto the eyelids in a soft manner. Dabbing will also give you a more even application which is the goal.
6. Know your crease
Knowing where your crease is, is one of the most important tricks to getting your eyeshadow correct. Always define your crease no matter the eyeshadow look.
By doing so you will take your eyeshadow from looking like the work of an amateur to the work of a pro.
When you don’t define the crease the eyeshadow tends to look messier and it’s harder to create eyeshadow looks, such as a cut crease and a smokey eye.
On the flip side, defining your crease opens the eyes as well as adds depth and dimension!
7. Make sure to blend, blend and blend
The magic word with eyeshadow is blending. The truth is that it’s really the magic word for all makeup, but let’s not divert. That’s for another blog altogether.
When eyeshadow isn’t blended properly, it resembles more of a Van Gogh oil painting than beautiful eyeshadow. So the trick is to blend properly each and every colour that you apply.
Make sure the shades blend into each other seamlessly for the best eyeshadow looks. And this leads us to the next point…
8. Create a winged shadow look with tape
Here’s a hack that saves a lot of time and energy! I don’t know about you but it took me years to master a winged eyeshadow look as well as a winged eyeliner.
However, you don’t need to wait years to become a pro at these skills. All you need is a bit of tape, it doesn’t need to be makeup tape, a bit of masking tape will do the trick.
Simply place the tape where you want the shadow or eyeliner to end and go ahead with your look. When you’ve finished your eye makeup, simply remove the tape, and voila, you’ll have a beautiful sharp winged makeup look!
9. Add a pop of colour to your inner eye
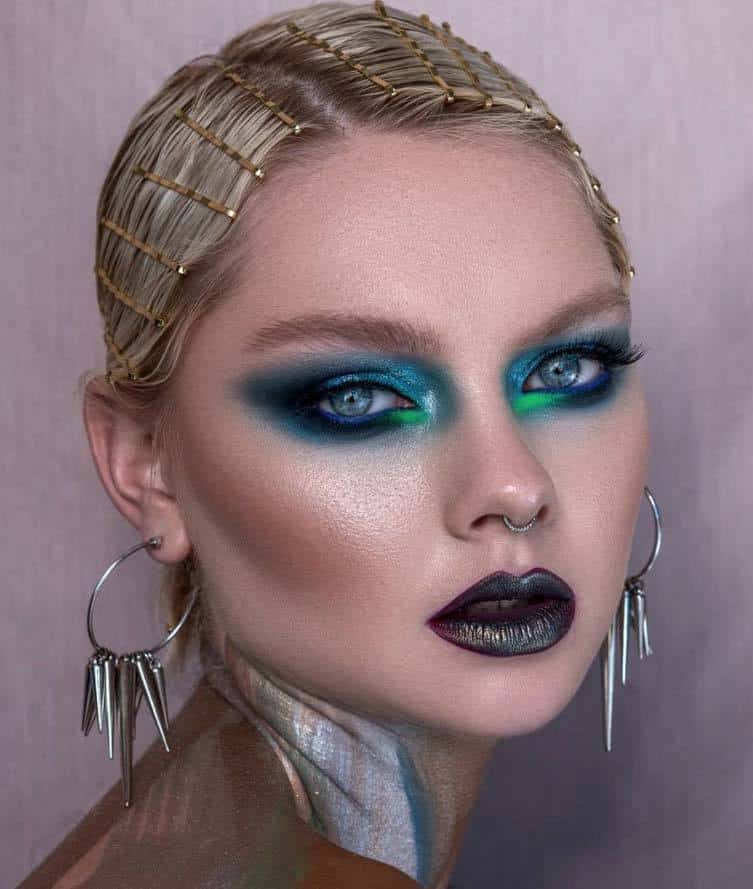
The inner corner of the eye is one of the most creative places to add a pop of colour. Not only is it incredibly pretty, but it also gives a brighter more awake appearance.
If adding bright colours isn’t your thing, try out the look with a highlighter. It gives the same dramatic effect without you going out of your comfort zone!
10. Skip eyeliner at the bottom for bigger eyes
Sometimes less is more and that is the case with eyeliner. Did you know applying eyeliner only on the top lashes will open your eyes, giving them a bigger appearance?
This is also a clever hack for older women, when I say older I mean anywhere over 40. So not technically older, but more than 20.
The reason is that eyeliner on the bottom lashes adds years to a person. Applying eyeliner only to the top lashes opens up the eyes making them bigger and brighter.
Add some of the eyeshadow that you used on your lids and softly apply it under your bottom lashes to complete the look.
My Thoughts
I hope these eyeshadow application tips have helped you go from a beginner to a pro! Relatively easy and not too time-consuming either, these tricks will change your eyeshadow experience!
Hollie xx

About Hollie
Hi, I’m Hollie, and I’m passionate about everything beauty. Over the last decade and a half, I’ve tested thousands of products to bring you the best of the best! I also love bringing you fun and creative beauty looks. Learn more.
Beauty profile – 35, dry, aging skin, focused on aging well with a healthy glow and natural makeup look ✨
- 18 Back-to-School Nails That Will Make Your First Day Special

- The Most Gorgeous Yellow Nail Designs

- May Nail Trend Ideas You’ll Love!

- 22 Patriotic 4th Of July Nails That Wow

- 18 Animal-Print Nails You’ll Fall In Love With

- 22 Trending Flower Nail Inspo for Your Next Mani

- 12 Superbowl Nail Designs for Game Day

- White Nail Designs You Have To Try

- The Rundown on Home Laser Hair Removal Devices


Anastasia Beverly Hills bareMinerals Benefit Cosmetics Bobbi Brown CeraVe Chantecaille Charlotte Tilbury Clarins ColourPop Dermalogica Dior Dyson e.l.f. Cosmetics ELEMIS Estée Lauder Eucerin Fenty Beauty Fresh Giorgio Armani Hourglass IT Cosmetics L'Oreal Lancome Laura Mercier LORAC MAC Makeup Revolution Maybelline Molton Brown Morphe Nars Natasha Denona Neutrogena NYX Origins Peter Thomas Roth PÜR Cosmetics Revlon Sigma Beauty Smashbox Stila The Ordinary Too Faced Urban Decay YSL