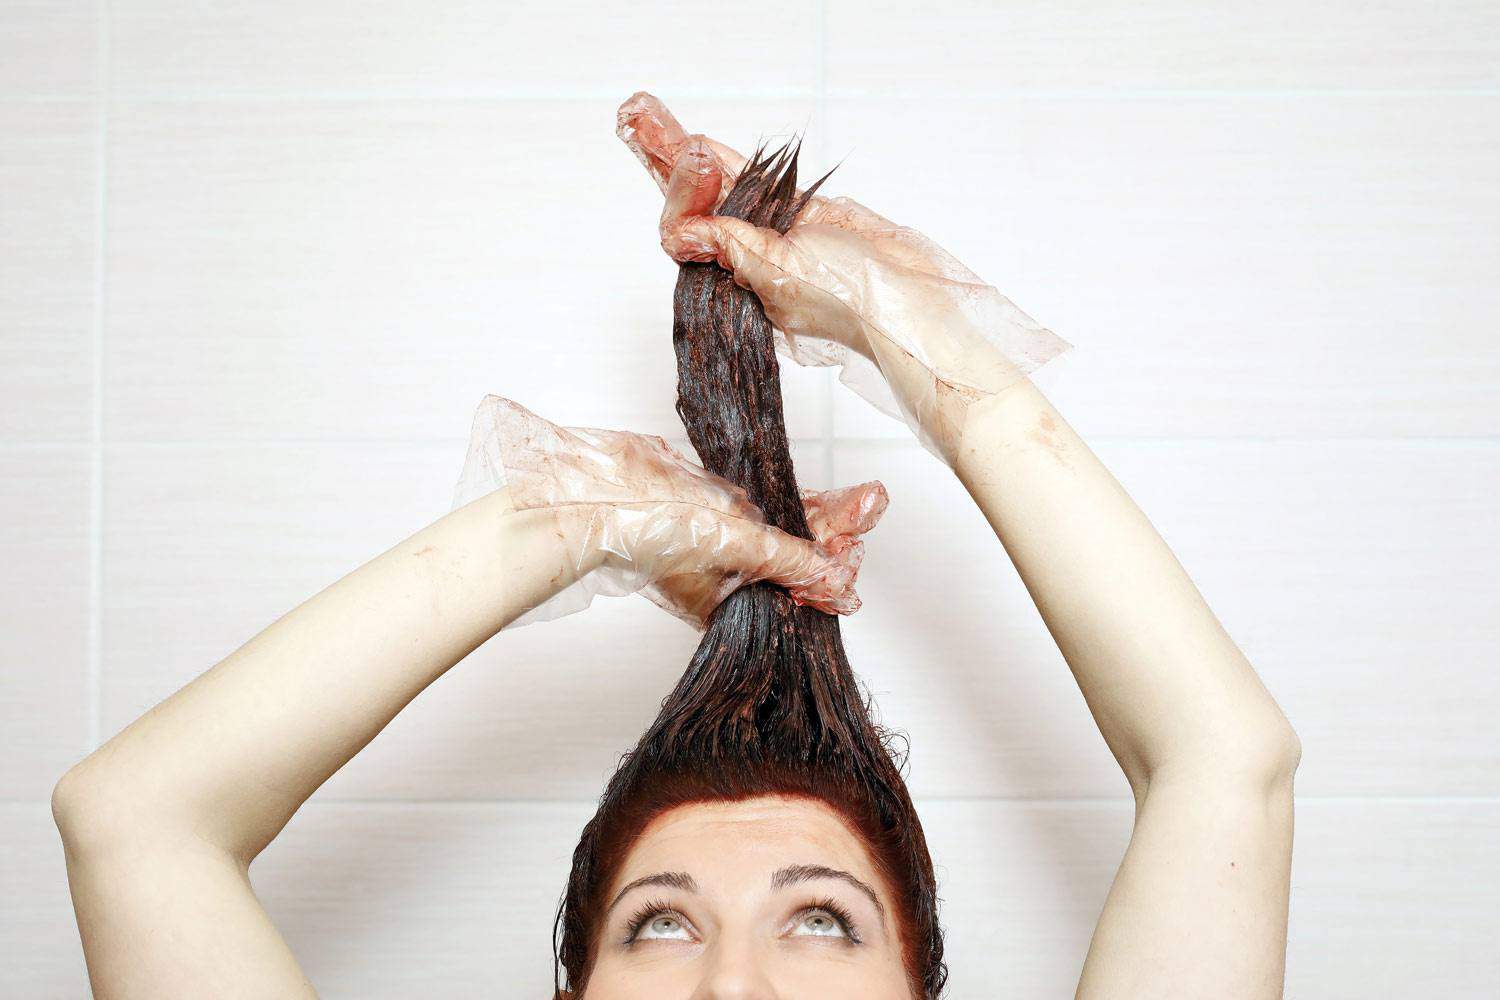
Foolproof and Damage Prevention Tips on How To Color Hair At Home
Dying your hair at home is an easy way to save time and money, and who doesn’t love that?!
During the pandemic, every DIY job was trending, because we were all stuck for other options. Funnily enough, some of those DIY trends became more popular. One of them is coloring your hair yourself!
While it may sound daunting it’s surprisingly pretty easy to do and the results are stunning too!
I’ve put together some must-read tips for coloring your hair at home, with as little faff as possible, yet still fantabulous results!
1. Don’t colour a freshly washed hair
Dye has a hard time sticking to wet hair cuticles. What is best recommended among many hair gurus and professionals is to leave your hair unwashed for several days before dying it.
If you can’t stomach that, then wash your hair a day before you plan to color it.
You’re probably wondering why do they wash and treat the hair in salons before colouring. In actual fact, they really shouldn’t either.
Salon beauticians wash the hair, and blow dry it to a crisp, only to put oil on the hair before they dye it. It’s like simulating greasy unwashed hair.
Since you’re going to colour your hair at home, there’s absolutely no need for you to put coconut oil or argan oil or whatever oil. Unless, of course, you want to cramp your arms from recreating the same salon step.
If you do choose to wash, dry, and lubricate your hair, apply just enough oil to simulate hair grease. A lot of, or too much doesn’t really make any difference. The dye is just going to soak it all up and at worst, may also dilute your dye.
2. Before colouring your hair, comb it until it is tangle-free
This is a more obvious point, but we all need a little reminding from time to time. If your hair is knotted, the dye won’t be able to spread evenly, which will leave you with an interesting result!
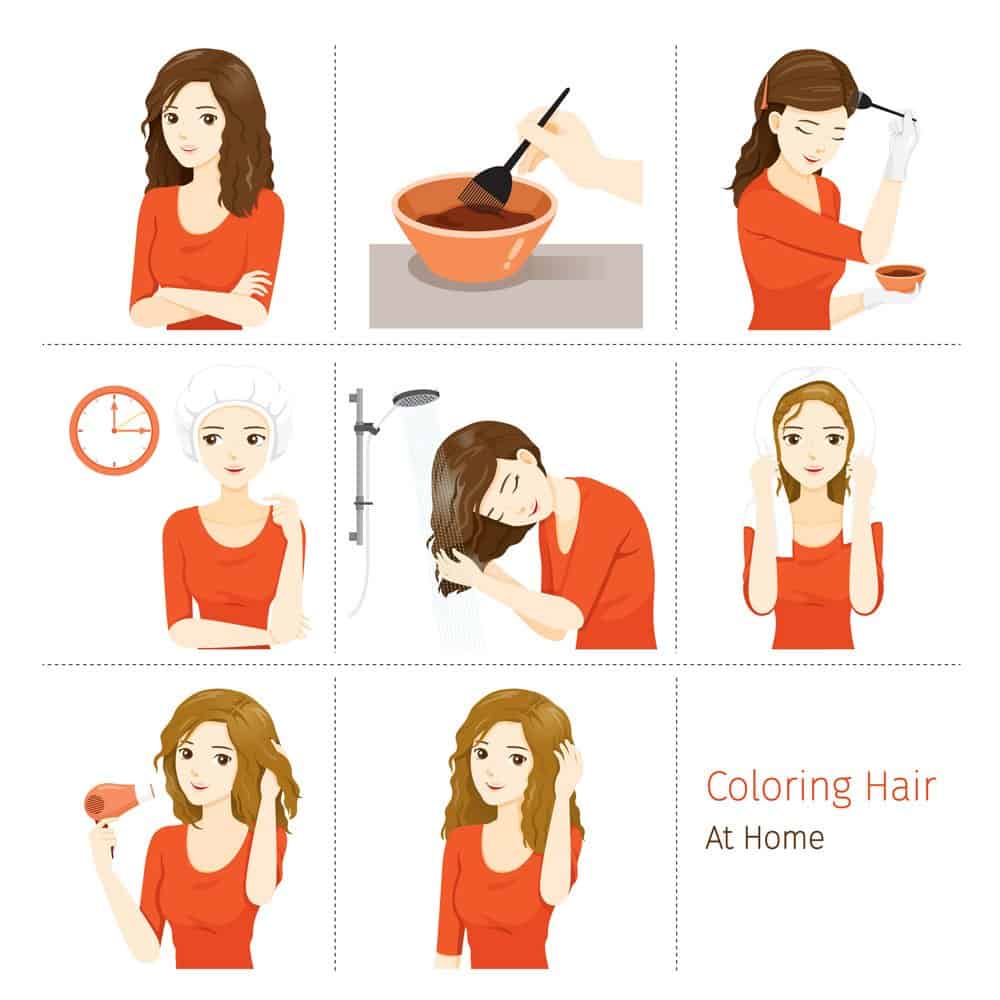
3. Prepare your materials beforehand. What you need…
- A box of your chosen hair dye, of course
- Plastic gloves
These usually come in the hair dye box along with some starter conditioners, serums, and instructions.
- Petroleum Jelly or chapstick or any lip balm
This is for rubbing along your hairline to prevent the dye from staining your skin.
- Comb
Preferably a sectioning comb, but any will do really because you can always use any other stick-like object to section your hair.
- Hairdresser Clip
This is for holding and placing your hair up into sections. And because it’s not ideal at all to apply dye like you would a shampoo, this item is a must.
- Dye Brush
Some hair dyes come with this, and some don’t. Either or, they are inexpensive. And if buying really isn’t an option, time to ravage your makeup brushes for the closest match!
If it’s really not available, your gloved hands are fine. Just use your comb through each dyed section to evenly spread the colour (but not the bleach).
- Newspapers or towels
This is for your bathroom counter and floors, or wherever you’ll be dyeing your hair. Hair dye tends to stain counter and floor surfaces, so better stay ahead of the mess.
4. Start dying by section or strands
Starting small and slow is the best for situations that require change, including hair colouring. This way you’ll know if the hair dye formula is working for you or not, if it’s the right colour and if you’ll need more of it, etc.
Once you’ve got the right mix and recipe, make sure to note it all down and do the same for the rest of your hair.
5. Bleaching 101
- Never apply bleach to your roots first!
Start in the middle section and go down towards the ends. This is because our scalps have heat, and by the time you are done warming the dye in a shower cap, the hair roots are going to look lighter than the rest.
It’s best to apply at mid-section and ends until you’re done with all the rest of your hair.
When you have finished applying bleach everywhere, wait 10 – 15 minutes then you can finally apply the bleach to your roots. This way the colour will turn out even.
You can also start with the darkest parts of your hair, working your way to the lightest parts. As long as you don’t start at your roots it will turn out fine.
- If you’re doing a re-touch on existing hair dye, still never start at your roots
- Less bleach does not mean less “lightness”
- Apply your bleach with gloved hands
Don’t use a comb or brush because your hair, at this point, is in a very fragile state and you don’t want to add stress by forcibly stretching out the strands.
- Apply your bleach like your normal dye, not like a shampoo
Bleach does not lather, so don’t rub it. You are more likely to damage your hair if you rub it while it is soaked in bleach.
- Spray some water in your shower cap before steaming or warming it up
Bleach likes a moist surface. And never leave it on for more than an hour because, at that point, it will dry up. If you are after a specific level of lightness, assess your hair after the first session of bleach to see if it can take more. Do another round if it can.
The bottom line, leaving it on well after it has dried isn’t going to make it any lighter than what the bleach volume’s processing power will allow.
6. For colour dye, follow the box instructions
Bleach or lighteners are more complicated than colour dye. It varies from person to person, hence the guides above. But for regular dye, it’s safe to follow the directions of the particular hair box that you have.
7. Rinse and cleanse with lukewarm water
Cold water is going to shock and damage your hair. After all those chemicals and heat and expansion, the last thing your hair and scalp need is another shocking treatment.
Wash it all off with lukewarm water to prevent your hair from any extra breakages.
Rinse your hair twice to make sure your hair is rid of the excess bleach and dye. And most importantly, be gentle.
You don’t need to vigorously scrub your hair and scalp. Again, it’s experienced a lot of trauma at this point. What it will need most now is a nice loving, rinsing massage under lukewarm water.
8. Lastly, assess and evaluate
Dry off and style your hair like you normally would. It’s pretty hard to judge the colour payoff as well as the condition of your hair when it is still wet.
My Thoughts
Hair colouring at home isn’t a do-or-die situation. (Get it?). But only if you do it right. Because if not, your hair will literally die from the dye.
Amidst all my terrible puns, I hope you’ve picked up some gems from all the best advice that I have compiled. Let me know if you’ve tried to color your hair at home and how it went.
Hollie xx

About Hollie
Hi, I’m Hollie, and I’m passionate about everything beauty. Over the last decade and a half, I’ve tested thousands of products to bring you the best of the best! I also love bringing you fun and creative beauty looks. Learn more.
Beauty profile – 35, dry, aging skin, focused on aging well with a healthy glow and natural makeup look ✨
- I Reviewed Fenty Beauty Pro Filt’r Concealer and Said Goodbye to My Under-Eye Creasing

- 10 Tips on How to Apply Highlighter to Pale Skin

- 15 Easy Winter Makeup Tips for Glowing Skin

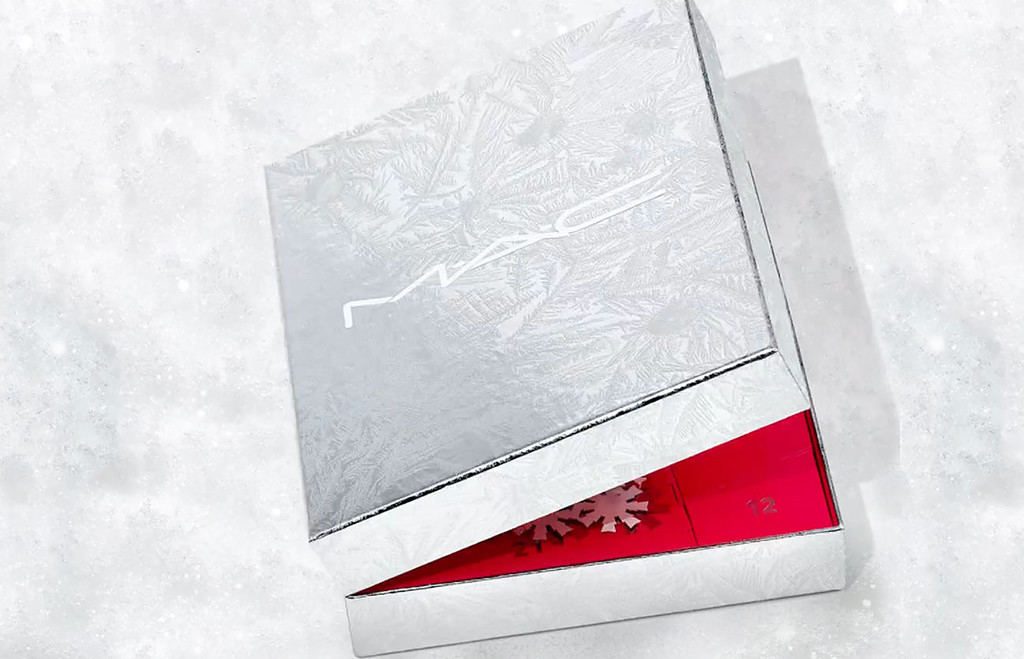
- Everything You Need to Know About MAC’s Frosted Frenzy Advent Calendar 2023

- Eye Makeup Tips You Need To Try for Sensitive Eyes

- How To Apply Mascara Like A Pro- The Best Hacks, Tips & Tricks

- 10 Easy Eye Makeup Tips & Techniques For Older Women Over 60

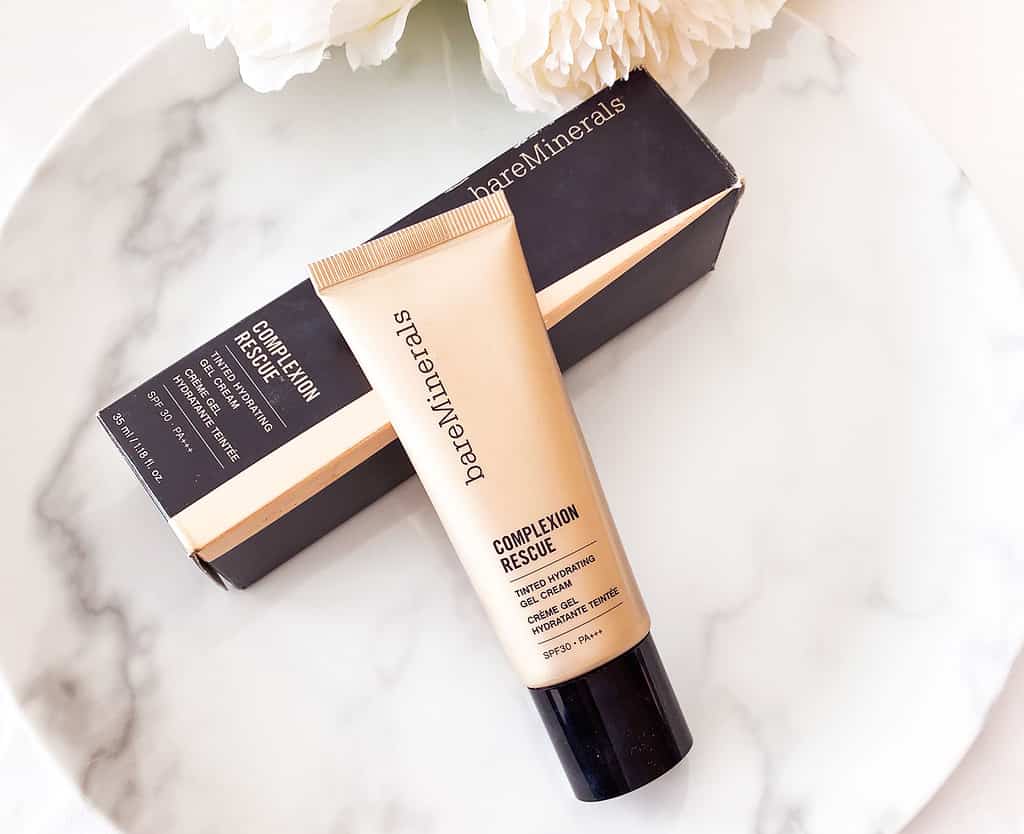
- BareMinerals Complexion Rescue Tinted Moisturizer Review- Find Out The Truth

- The Ultimate Guide to Different Types of Eyeshadows and Their Gorgeous Finishes

Anastasia Beverly Hills bareMinerals Benefit Cosmetics Bobbi Brown CeraVe Chantecaille Charlotte Tilbury Clarins ColourPop Dermalogica Dior Dyson e.l.f. Cosmetics ELEMIS Estée Lauder Eucerin Fenty Beauty Fresh Giorgio Armani Hourglass IT Cosmetics L'Oreal Lancome Laura Mercier LORAC MAC Makeup Revolution Maybelline Molton Brown Morphe Nars Natasha Denona Neutrogena NYX Origins Peter Thomas Roth PÜR Cosmetics Revlon Sigma Beauty Smashbox Stila The Ordinary Too Faced Urban Decay YSL
Nice Post! Thanks for sharing the amazing tips for hair colouring at home. It is really helpful.